Drawing
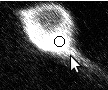
First, click anywhere to add the initial point to your stack. This should be placed at the soma.
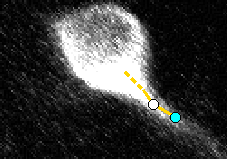
Next, you can click into empty space to continue the current branch into that area. Make sure to also change Z-stack (scroll-wheel, or buttons 1 & 2) to place it in the right spot.
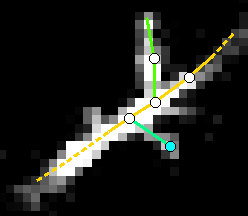
New branches can be made by selecting the branch point, then right-clicking the new position, or clicking while holding Ctrl:
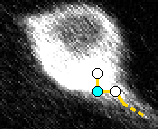
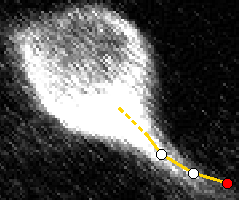
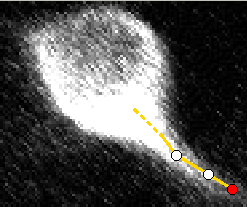
Similarly, new points can be added mid-branch by first selecting a neighboring point on that branch, then middle-clicking the new position, or clicking while holding Shift:
Moving
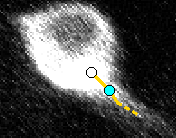
To move a point, first middle-click (or shift-click) a point, which will turn it red. Next, click on the new location to move it to. If you want to move all downstream points, hold shift at the same time.
While moving points, ‘w’/’a’/’s’/’d’ keys can also be used to move the selected point a small amount in the appropriate direction.
Reparenting
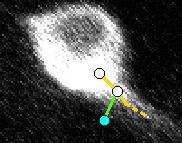
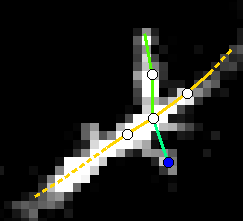
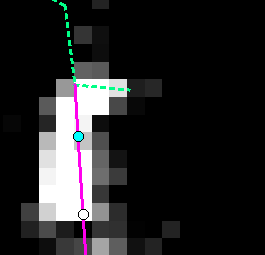
If a point is attached to the wrong parent, this can be fixed. First, select the point, then press Ctrl-R to start the reparenting, which will turn it blue. Next, click the new parent.
Fixing Branches
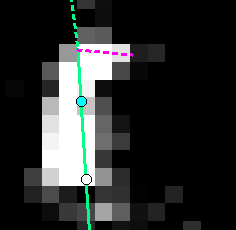
If a branch continues the wrong way at a branch point, this can also be fixed. First, select the first point along the child (which should actually be a continuation of the branch), then press Ctrl-B to change it to continue its parent. The old continuation (if it exists) will become a new branch.
Other
Multiple other drawing options are available through key commands. These are all listed in a help dialog (shortcut F1), and includes:
W/A/S/D to pan around the image
1/2 to change current Z stack
X/Z to zoom in and out
4/5 to change lower brightness limits, 7/8 to change upper, and 6 to reset.
C to change displayed channel. Shift-C to use color to draw the image.
F to toggle showing annotations / IDs / nothing
V to toggle showing branches away from the current Z stack.
H to toggle showing hilights.
J to rotate through different line thicknesses, Shift-J for circle size.